There are four distinct stages to becoming a candle person. Stage one is acquiring a very fine candle. Stage two might best be defined by spending more time and money researching and buying more very fine candles. Stage three is culling the herd: removing all your pre-candle-person acquisitions that post-Diderot effected-you can’t abide. (The Diderot effect is what happens when you find yourself the owner of a beautiful object that makes your other objects look shabby, thus compels you to buy more beautiful objects that can live up to the one that changed everything.) You’ll know you’ve reached stage three when you’ve begun to look askance at your old candles, provenance unknown, but likely gifted to you over the holidays. You’ll start catching yourself scanning ingredients labels, considering the make of containers, wondering about the percentage of tonka bean used for the tonka-scented piece you found at the market and tossed in a shopping cart thoughtlessly, a hundred years ago, before you were who you are now. A candle person.
Which brings us to stage four: Investing in candle maintenance. If you’re reading this, it’s almost certain you’ve reached the fourth stage, at which point you’ve realized that investing in good candles means knowing how to maintain them. Welcome. You’ve come to the right place. Below is everything you need to know, according to experts, about candle care.

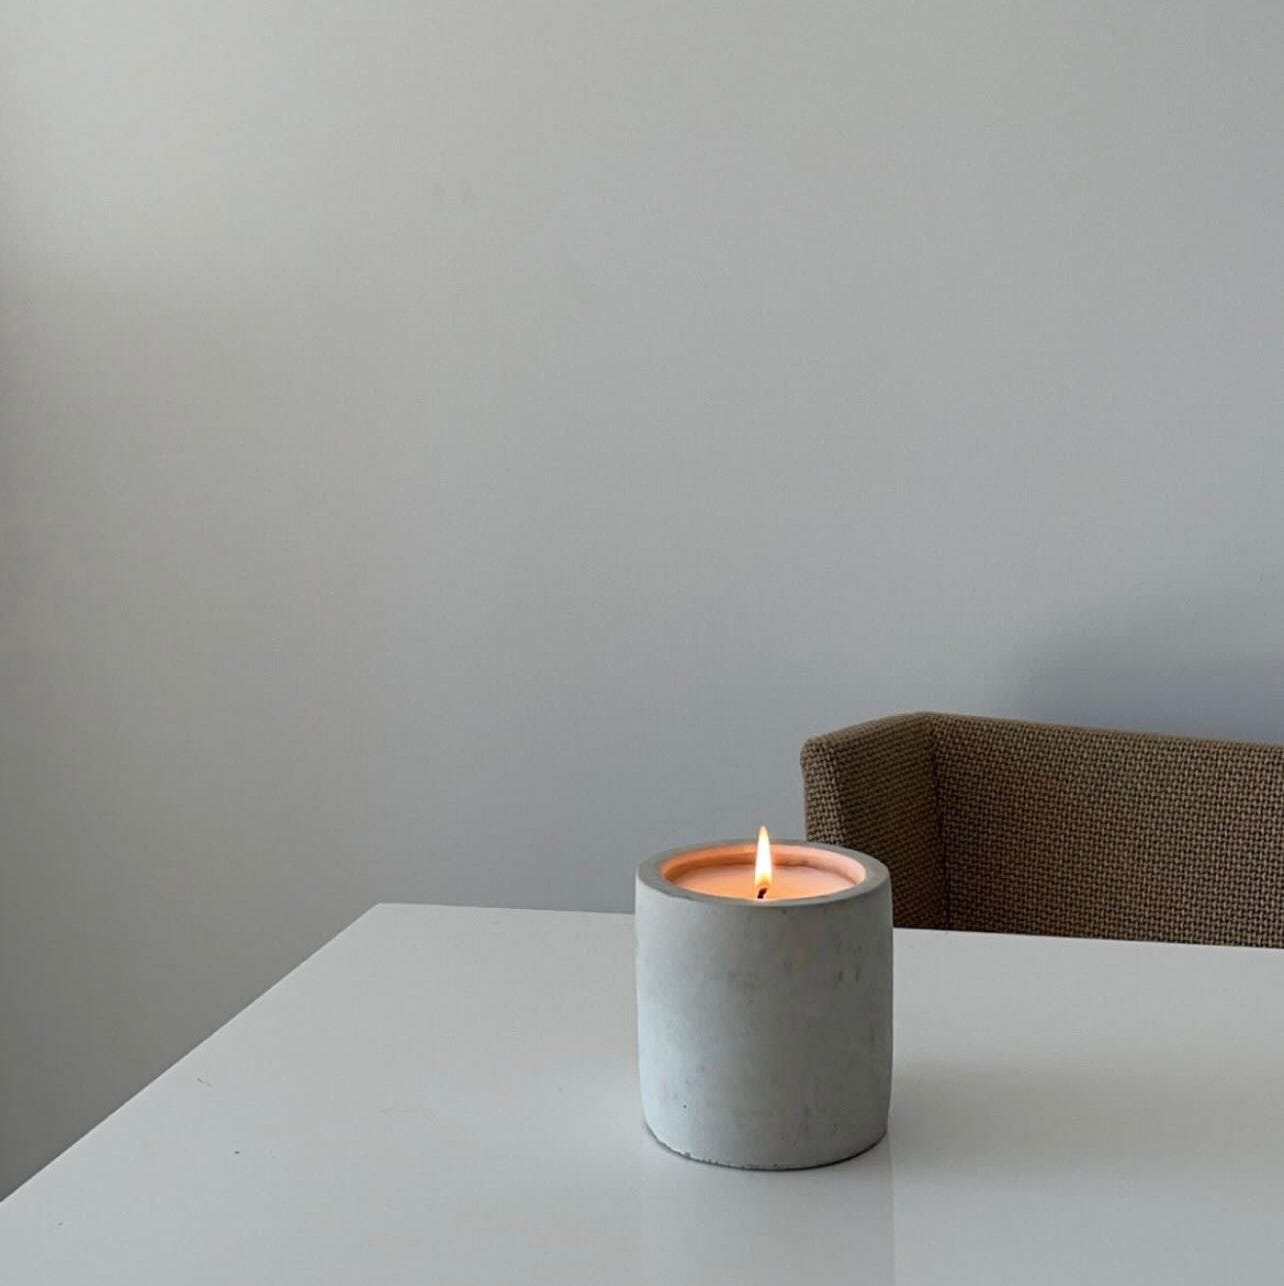
Nu Los Angeles candles are handmade with non-toxic coconut wax and poured in Marina Del Rey, California.
How do you take care of a candle?
The very first thing experts will tell you to do is trim the wick of your candle to about a quarter of an inch long. As Kudzi Chikumbu, aka Sir Candle Man on TikTok, says: “If you light a candle with a wick that’s too long, the flame will be too big and too hot, messing up the burn.” And this can mean all sorts of problems down the road. Primarily tunneling, which we’ll get to later.
Leslie Tillis, owner and head candler at NU Los Angeles adds that trimming a wick helps reduce soot and smoke.
Pro tip: If you find yourself without scissors or a wick trimmer, light your candle, let it cool, and with a tissue pinch off the excess wick. “The excess will come off easily,” says Tillis, “it won’t be too short, you won’t rip it out; only the unnecessary part will come with you. Just give it a quick tissue cleaning and it’s ready to go.”
How long can you burn a candle for?
It depends on the size of the candle, and if we’re talking about the first or a subsequent burn. Tillis advises burning a new candle for at least two hours, if the candle is small or about nine to ten ounces. “That way the wax pool can reach the edges,” says Tillis, which will allow for an even burn for the rest of the candle’s life. For a medium candle, which at NU means 40 ounces and double wicks, a first burn should be at least three hours.
Likewise, Chikumbu says, “The key is to burn the candle until you have a fully melted wax pool. For a tiny scented tea light candle, that would be a few minutes. For a regular six to seven ounce candle, about an hour. For the larger candles, two to three hours.”
What you don’t want to do is let a candle burn for only 30 minutes. And, ideally, after the first burn you keep your candle lit for between one to four hours every time.
Pro tips. “Do not burn your candles near a window, a fan or anywhere with a draft,” advises Chikumbu, “because your candle will burn unevenly as the flame moves, causing your candle to tunnel.
Of course, always put out your candles before leaving the house, and never leave a lit candle unattended.
How do you stop a candle from tunneling?
Directly related to the optimal burn time and wick length is tunneling, which is when wax burns a crater around the wick, leaving unmelted wax along the edge of the container. To avoid tunneling, you have to let the candle burn long enough for the entire top layer of wax to melt evenly. “Whatever you do,” says Chikumbu, “get a full melt pool, otherwise your candle will tunnel and you’ll waste wax.”
What’s the 8:10 rule?
This is advice for scenting your home: Light one 8-ounce candle roughly every 10 feet for an optimal, surround-sound-like smell. And while the art of scenting your home must be acquired, the 8:10 rule is a decent one to follow, though of course it will depend on the size of your candles, your space, and how potent you want the fragrance to be.
How should you put out a candle?
The blowing-it-out method works just fine, but there are tools that can help. Chikumbu says wax dippers can be used to dip a wick, which will coat it in wax and stop the burn without causing smoke. Benefits include protecting the wick for a “clean burn” on the next light. “Alternatively, for taller candles, a wick snuffer is perfect because you can reach into the candle easier. Overall, the tools are not mandatory but add a little luxury to your candle routine.”

This two-piece set from the MoMA Design Store includes a wick trimmer and candle snuffer.
How should you store your candle between uses?
You’ll want to cover your candles and keep them out of direct sunlight when they’re not in use. Covering candles keeps dust and other debris from mixing with the wax. It also helps preserve the quality of wax as well as its scent.
Some candles, especially those like NU candles made from natural materials, may crack or pull away from the sides if the container is left in the sun. “A lot of other candles have a lot of additives in them,” says Tillis, “but we use a food-grade coconut wax and it’s so soft that you can dip your fingertip in it and put it on your skin and as a moisturizer.” The tradeoff is that these candles aren’t meant to sit unused for months—they want to be burned.
Can you refill the candle wax?
This is a personal choice. But, it’s also very much dependent on the candle. Most experts we spoke with recommended reusing the candle pots but not attempting to refill the wax. However, says Chikumbu, if you’ve lost the wick, you can try using a candle lamp to eke out every last drop of your favorite candle: “When your candle is almost done and the wick won’t light because there’s only a little wax left, you can use a candle lamp warmer to keep enjoying the scent.”